当サイトは、アフィリエイト広告を利用しています
【Docker × Python】コンテナでのpytest実行とカバレッジ確認をVScodeする方法
最近は開発はdockerコンテナ上で行うことが多くなってきたので
コンテナ上のpytestの実行をVScodeを使って行い、
結果とカバレッジの確認をする方法をまとめる。
コンテナ作成
pythonとpytestが実行できるdockerコンテナを
docker-composeを使って作成する
環境
下記の環境で行う
- Windows10
- Docker version 24.0.2(Docker for Windows)
- VScode
- Docker for Windows
- python 3.12
プロジェクト構成
全体的な構成は下記のようになる
.|-- .coveragerc|-- Dockerfile|-- app| |-- __init__.py| `-- execute_module.py|-- docker-compose.yml|-- requirements.txt|-- tests| |-- __init__.py| `-- test_execute_module.py`-- vscode_ex_install.sh
サンプルとしてテスト対象コード(execute_module.py)とテストコード(test_execute_module.py)を
作成しておく
環境構築系ファイル
pytestが実行できるコンテナを作成するためのファイル
Dockerfile
コンテナのイメージファイル
# イメージFROM python:3.12# パッケージを最新化RUN python -m pip install --upgrade pip# workspaceディレクトリを作成WORKDIR /workspace# workspaceにrequirements.txtをコピーCOPY requirements.txt /workspace/# requirements.txtのパッケージをインストールRUN pip install -r requirements.txt
- python:3.12のコンテナを作る
- 必要なライブラリはrequirements.txtを読み込んでインストールする
requirements.txt
pytest==8.2.2pytest-cov==5.0.0
- pytestをインストールする
- pytestでコードのカバレッジもみれるようにするため「pytest-cov」もインストールする
docker-compose.yml
version: "3"services:pytest:container_name: "container_pytest"# Dockerfileをビルドbuild:context: .dockerfile: Dockerfiletty: true# プロジェクトをバインドマウントvolumes:- .:/workspace
- dockerfileを元にコンテナを作成する
.coveragerc
[run]omit = test_*.py
カバレッジ対象からtestコードを省くように設定する
vscode_ex_install.sh
VSCodeの拡張機能を一括インストールするスクリプト
pytestをVScode上で実行するうえで必要な拡張機能をインストールするために
使う
#!/bin/bash# 拡張機能のIDリストextensions=("ms-python.python""ryanluker.vscode-coverage-gutters")# 各拡張機能をインストールfor extension in "${extensions[@]}"; docode --install-extension $extensiondone
- コンテナ内で実行すれば必要な拡張機能を一括インストールするできる
詳細は下記記事参照
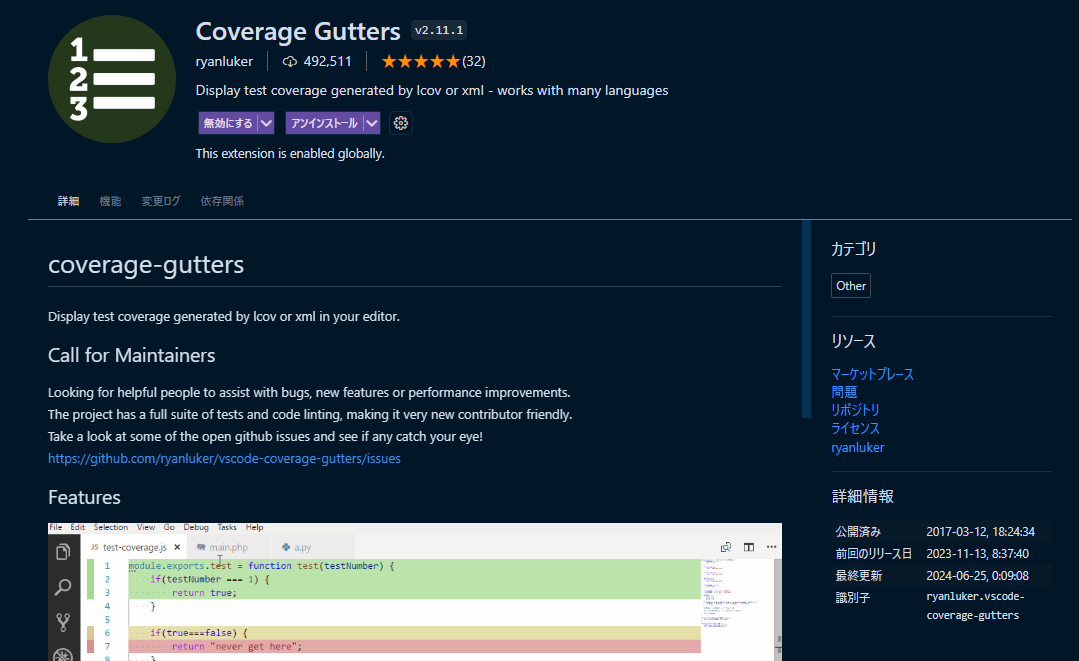
下記の二つなので手動でいれてもOK
VSCodeでPythonを使うなら必須の拡張機能
テスト対象ソース
サンプルのテスト対象コード
class ExecuteClass:def __init__(self,param1, param2):self.param1 = param1self.param2 = param2def callParam1(self):return self.param1def callParam2(self):return self.param2def main():instance = ExecuteClass(1,2)print(instance.callParam1())print(instance.callParam2())if __name__ == "__main__": # pragma: no covermain()
pytestでテストをするコード。
「# pragma: no cover」の部分はグローバルスコープのコードであり
pytestでのテストは難しいため、カバレッジ対象としている。
テストソース
pytestのテストコード
import pytestfrom app.execute_module import ExecuteClass,main@pytest.fixturedef test_setup():# ExecuteClassのインスタンスを作成execute_instance = ExecuteClass(1,2)return execute_instancedef test_callParam1(test_setup):execute_instance = test_setup# callParam1を呼び出し、結果を取得result = execute_instance.callParam1()# 戻り値をアサートassert result == 1def test_callParam2(test_setup):execute_instance = test_setup# callParam1を呼び出し、結果を取得result = execute_instance.callParam2()# 戻り値をアサートassert result == 2def test_main(capfd):# main関数を呼び出すmain()# 標準出力をキャプチャout, err = capfd.readouterr()# 標準出力が期待通りであることをアサートassert out == "1\n2\n"# エラー出力がないことをアサートassert err == ""
ExecuteClassの各関数とmain関数をテストするコード
コンテナを作成する
コンテナの材料がそろったのでdockerコンテナを作る
docker-composeを実行
docker-composeを実行してコンテナを作成する
# コンテナ作成docker compose up -d# コンテナ確認docker psCONTAINER ID IMAGE COMMAND CREATED STATUS PORTS NAMES82374e8c81da pytest_vscode-pytest "python3" 22 seconds ago Up 21 seconds container_pytest
コンテナに入る
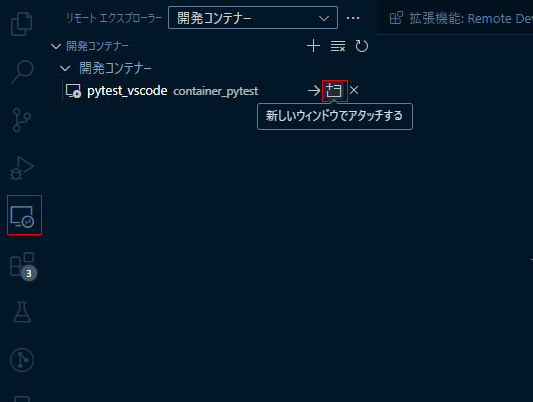
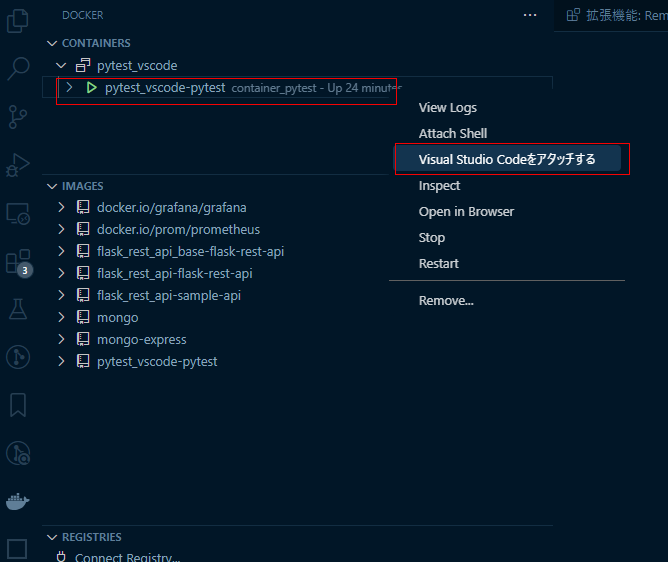
作成したコンテナに入る
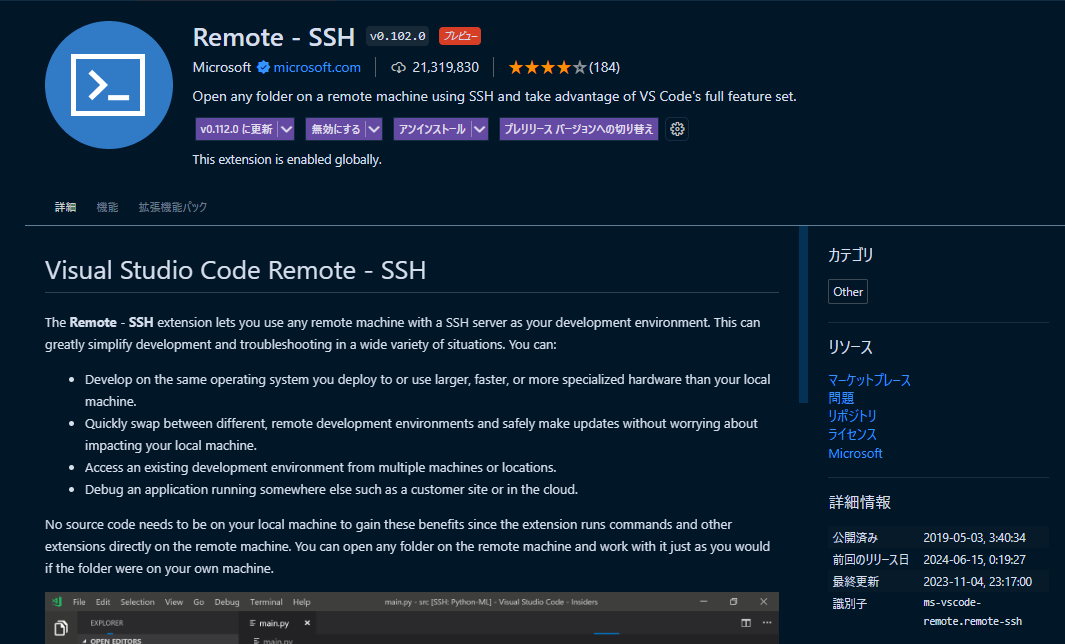
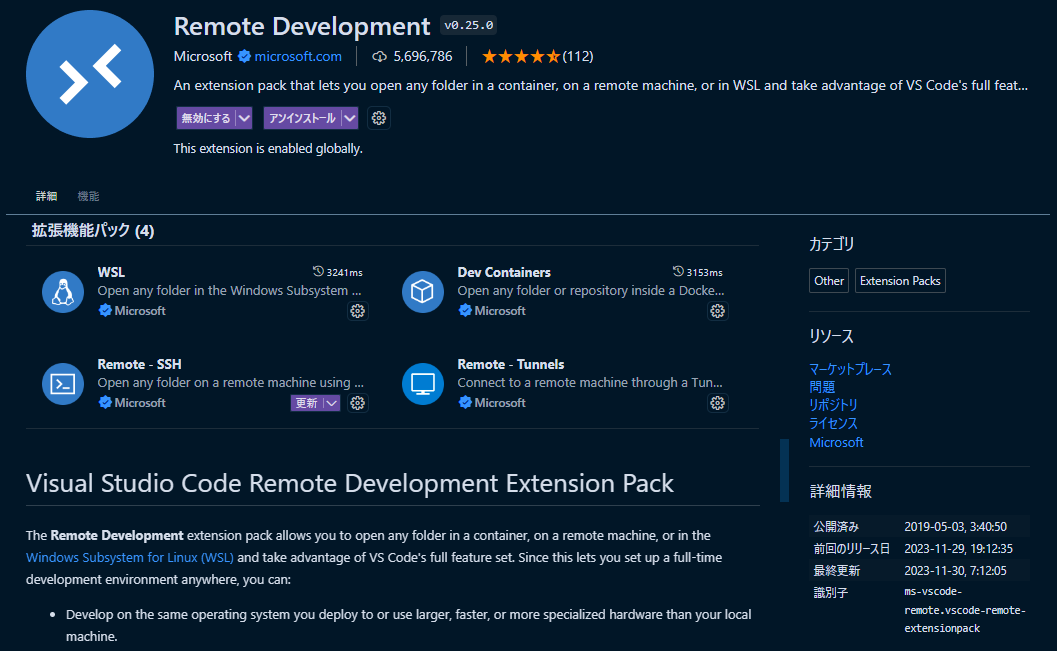
VScodeから入る必要があるので下記のいずれかの拡張機能をホスト側の
VScodeにいれておく必要がある
Remote - SSHを使う場合
Remote Development
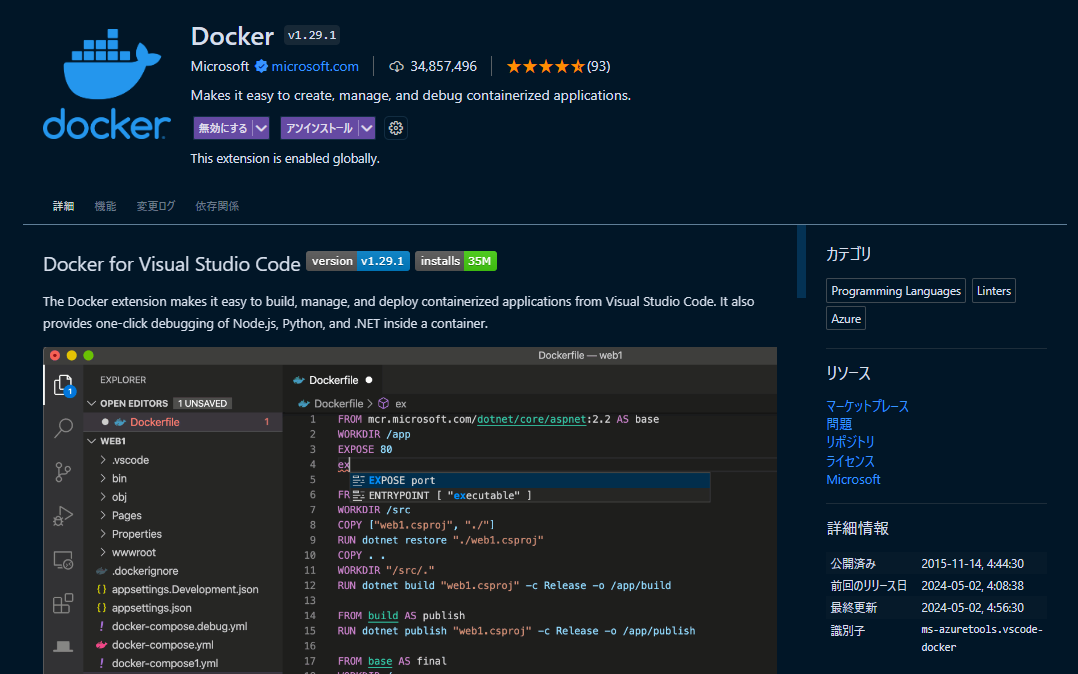
下記をインストールする
Docker
コンテナ内で拡張機能をインストールする
コンテナのVScodeのターミナルで「vscode_ex_install.sh」を実行する
root@82374e8c81da:/workspace# bash vscode_ex_install.sh
※vscode_ex_install.shの改行コードが「CRLF」になってる場合はエラーになるので「LF」にする
設定
コンテナでpytestの設定をしていく
pytestの設定
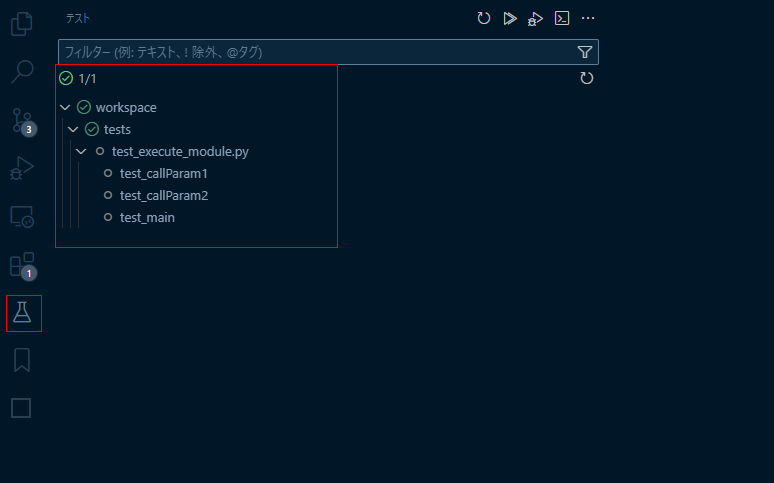
「F1」でコマンドパレットを開き、「テストを構成する」を選択する
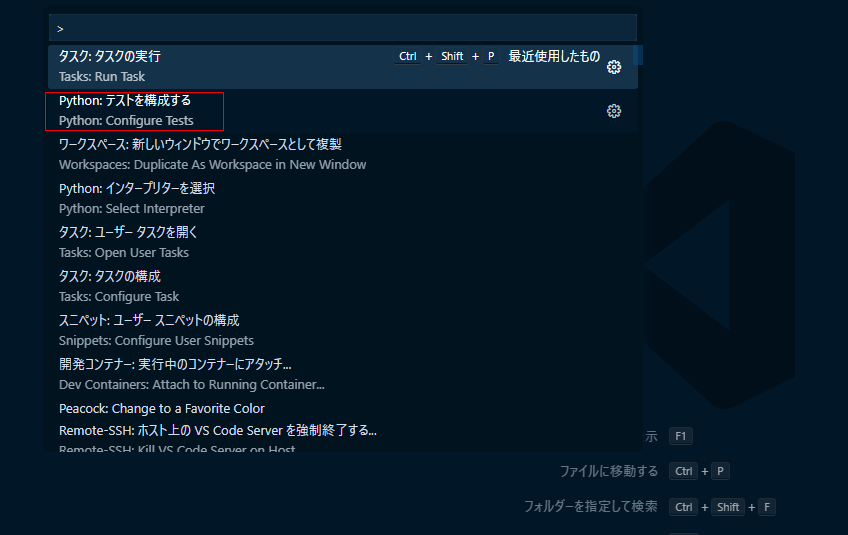
エラーが出た場合は再度、VScodeからコンテナにつなぎなおす
※よくわからないがつなぎなおすと直ることが多い。。。。
.vscode/setting.jsonの設定
またこのタイミングで「.vscode/setting.json」が作成されるので
下記のように書き換える。
後述するカバレッジをVSCodeで見るために必要な設定をしている
{// pytestに渡す引数を指定します。// --cov=. はカバレッジを計測する対象を現在のディレクトリ(つまりプロジェクト全体)に設定します。// --cov-report xml はカバレッジレポートをXML形式で出力するように指定します。"python.testing.pytestArgs": ["--cov=.","--cov-report","xml"],// unittestフレームワークを無効にします。"python.testing.unittestEnabled": false,// pytestフレームワークを有効にします。これにより、VS Codeはpytestを使ってテストを実行します。"python.testing.pytestEnabled": true,// エディタのガター(行番号のある領域)にカバレッジ情報を表示するかどうかを設定します。// false にすることで、ガターにカバレッジ情報を表示しないようにします。"coverage-gutters.showGutterCoverage": false,// エディタで各行のカバレッジ情報を表示するかどうかを設定します。// true にすることで、各行にカバレッジ情報を表示するようにします。"coverage-gutters.showLineCoverage": true}
各種設定はコメントの通り
.vscode/launch.json
また同時に「launch.json」も作成しておく
これはカバレッジと同時にデバッグをしても問題なく動くデバッグ設定になる
{"version": "0.2.0","configurations": [{"name": "Python: Current File","type": "debugpy","request": "launch","program": "${file}","purpose": ["debug-test"],"console": "integratedTerminal","env": {"PYTEST_ADDOPTS": "--no-cov"}}]}
これがないとカバレッジを出すとデバッグできなくなる
テスト実行
テスト実行していく
テストは
- VSCodeから実行
- コマンド実行
の両方を行うことができる
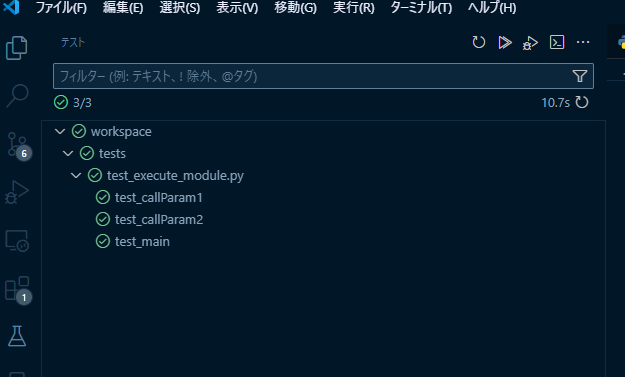
VScodeから実行する
VScodeから実行する場合は、先ほどのフラスコアイコンから実行する
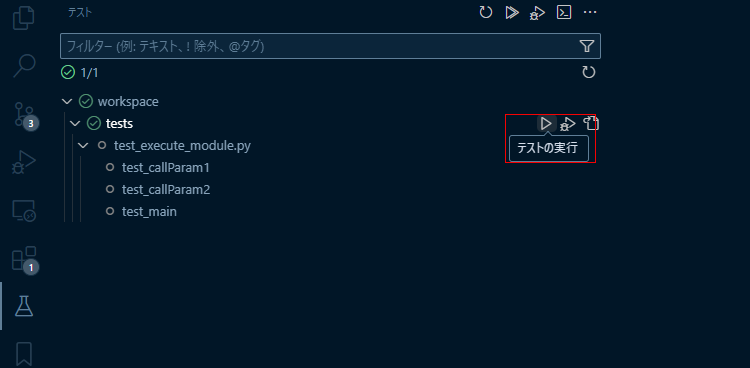
実行ボタンが表示される単位で実行することができる
コードで実行する
テストソースを開くと実行ボタンが表示されているので
ソースからも実行できる
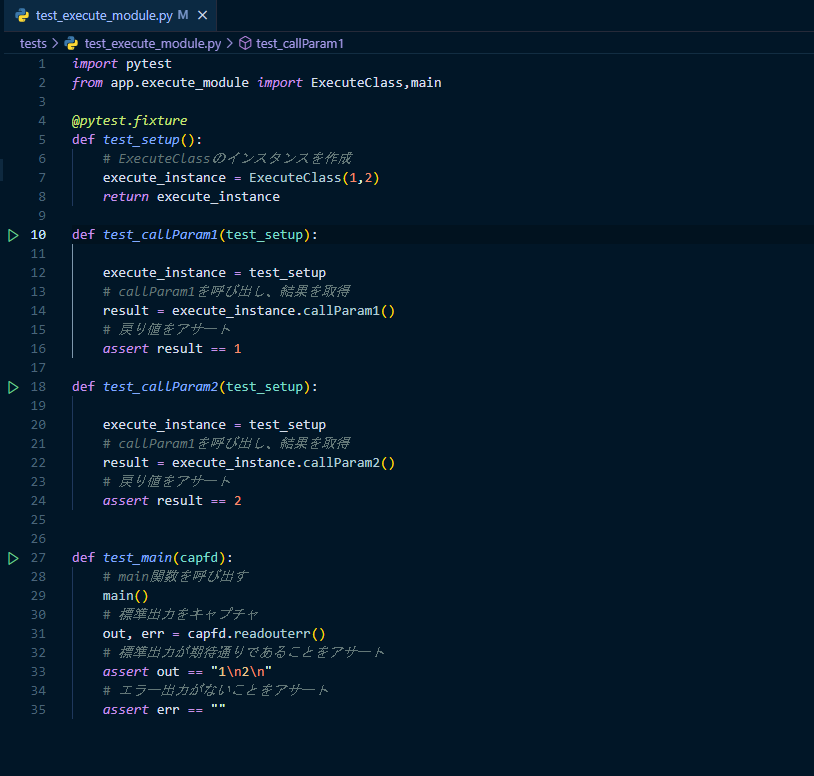
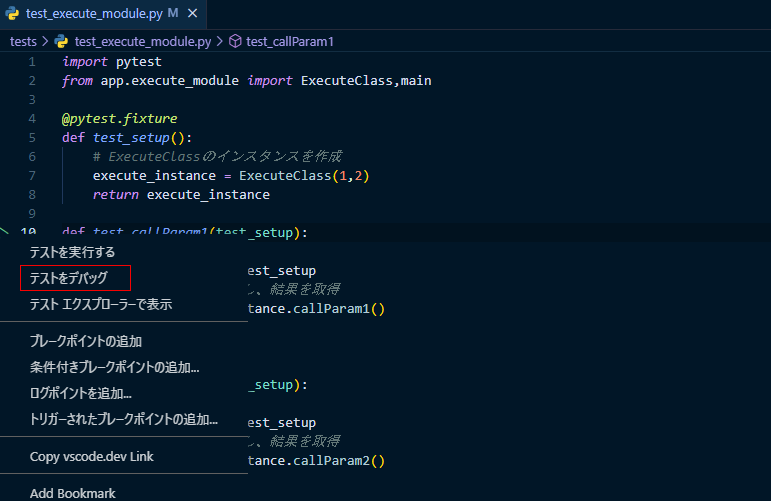
テストデバッグする
デバッグする場合は、ソースの実行ボタンで右クリックしてデバッグ実行すれば
デバッグできる。
※ブレークポイントは打つ必要あり
コマンド実行する
コマンド実行する場合は下記のようにVSCodeのターミナルで「pytest」と打てば実行できる
root@82374e8c81da:/workspace# pytest=============================================================================== test session starts ================================================================================platform linux -- Python 3.12.4, pytest-8.2.2, pluggy-1.5.0rootdir: /workspaceplugins: cov-5.0.0collected 3 itemstests/test_execute_module.py ... [100%]================================================================================ 3 passed in 0.77s =================================================================================root@82374e8c81da:/workspace#
カバレッジを表示する
pytestはテストのカバレッジを確認することができる
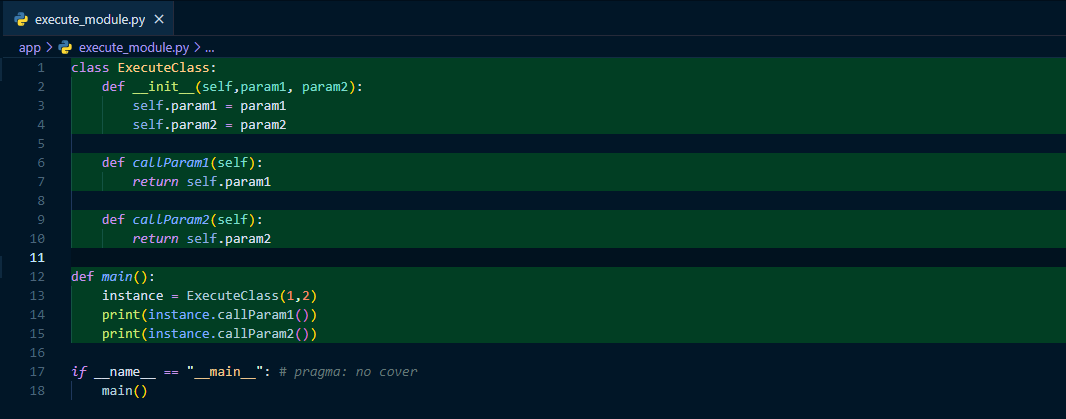
VSCodeでカバレッジを表示する
VSCodeでカバレッジを見る場合は「.vscode/setting.json」を設定しておく必要がある
※上記で書いてます
「# pragma: no cover」の部分は無視されている。
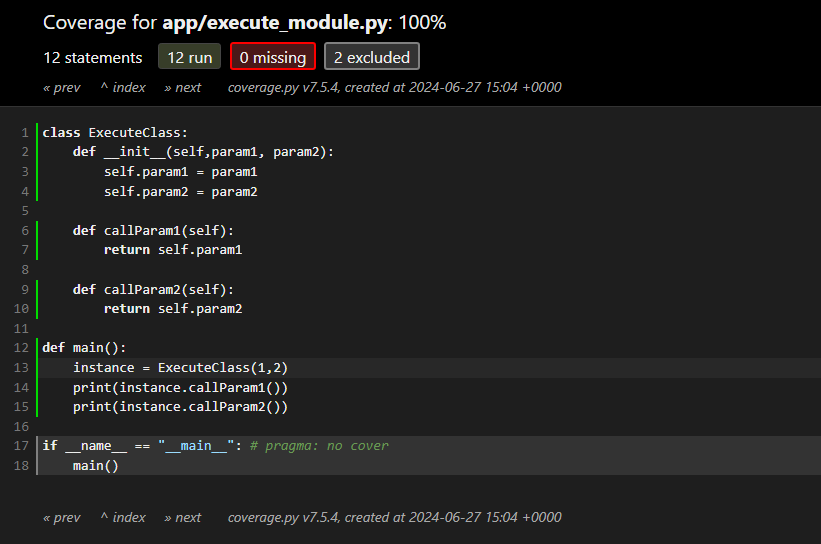
※無視されているがカバレッジ100%になる。
コマンドでカバレッジを表示する(標準出力)
コマンドでカバレッジを出して結果を標準出力で見たい場合は
下記コマンドを実行する
root@82374e8c81da:/workspace# pytest -v --cov=app======================================================================================= test session starts =======================================================================================platform linux -- Python 3.12.4, pytest-8.2.2, pluggy-1.5.0 -- /usr/local/bin/pythoncachedir: .pytest_cacherootdir: /workspaceplugins: cov-5.0.0collected 3 itemstests/test_execute_module.py::test_callParam1 PASSED [ 33%]tests/test_execute_module.py::test_callParam2 PASSED [ 66%]tests/test_execute_module.py::test_main PASSED [100%]---------- coverage: platform linux, python 3.12.4-final-0 -----------Name Stmts Miss Cover-------------------------------------------app/__init__.py 0 0 100%app/execute_module.py 12 0 100%-------------------------------------------TOTAL 12 0 100%======================================================================================== 3 passed in 4.73s ========================================================================================root@82374e8c81da:/workspace#
- 「-v」は詳細モードでテスト結果を表示する。テストの成功、失敗、スキップなどの情報が出力されるようになる
- 「--cov=app」はcoverage パッケージを使用して、指定されたディレクトリ(この場合は app)内のファイルのテストカバレッジを測定する
どこを通っていないかは見れないが、確認には使える。
コマンドでカバレッジを表示する(HTML)
カバレッジの詳細を見たい場合は結果をHTMLで出力することもできる
root@82374e8c81da:/workspace# pytest -v --cov=app --cov-report html======================================================================================= test session starts =======================================================================================platform linux -- Python 3.12.4, pytest-8.2.2, pluggy-1.5.0 -- /usr/local/bin/pythoncachedir: .pytest_cacherootdir: /workspaceplugins: cov-5.0.0collected 3 itemstests/test_execute_module.py::test_callParam1 PASSED [ 33%]tests/test_execute_module.py::test_callParam2 PASSED [ 66%]tests/test_execute_module.py::test_main PASSED [100%]---------- coverage: platform linux, python 3.12.4-final-0 -----------Coverage HTML written to dir htmlcov
実行後、「htmlcov」ディレクトリをがプロジェクト直下に作成されるので
ダウンロードしする
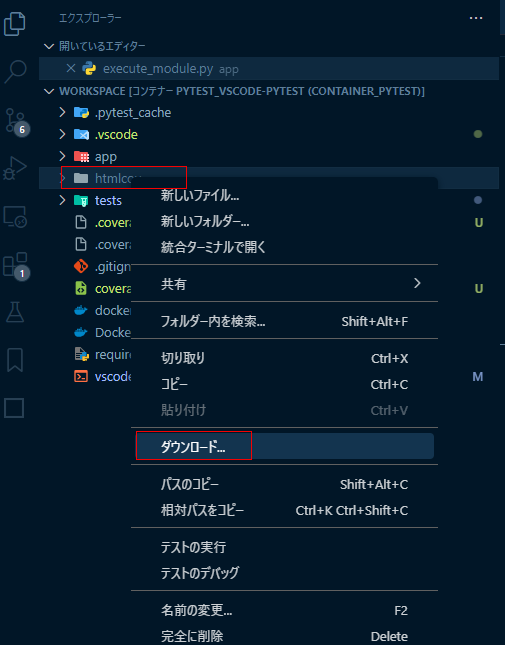
その後、ダウンロードしたディレクトリ配下の「index.html」をブラウザで開く
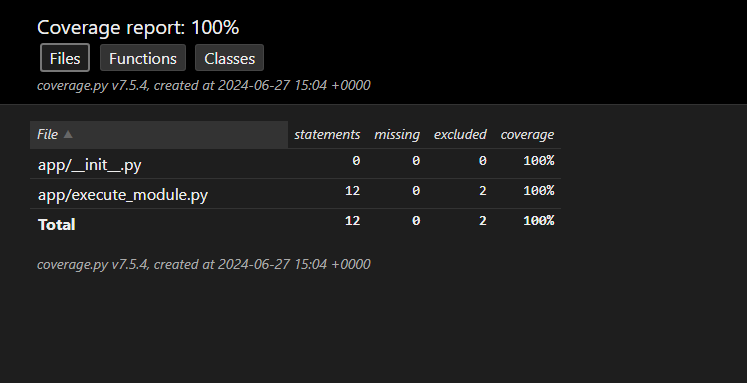
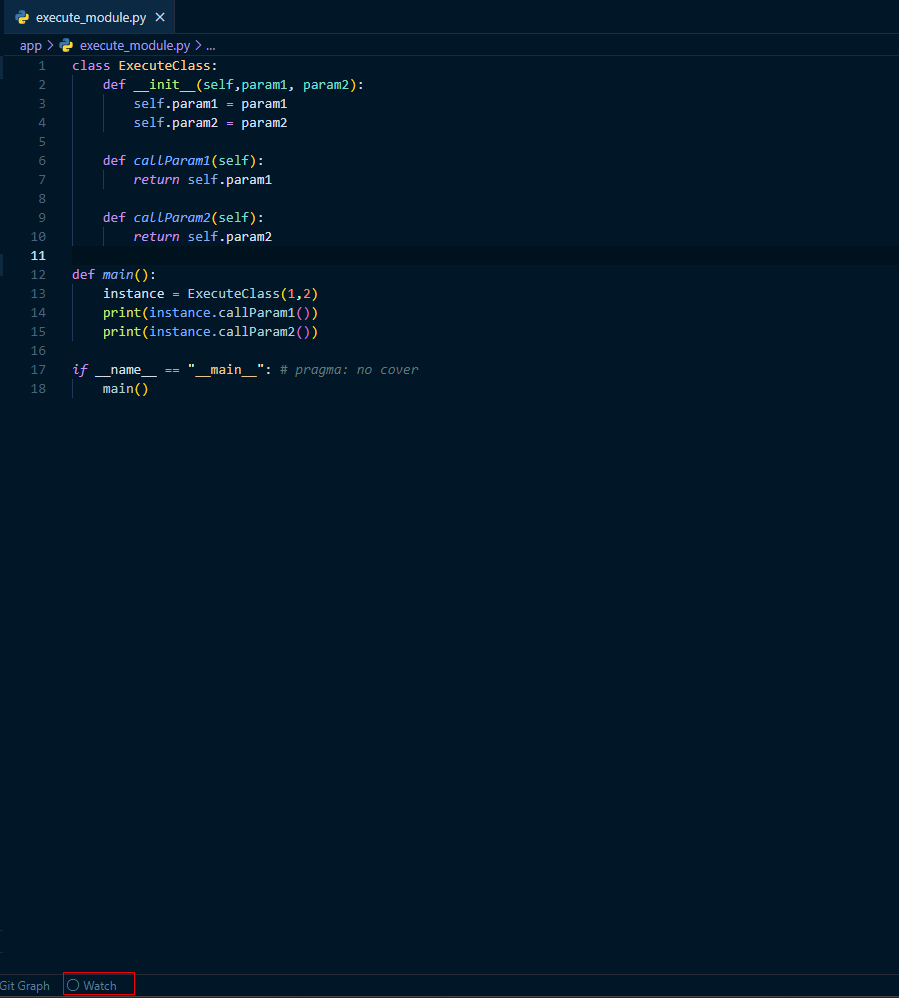
VSCodeから直接確認する
を使えば、htmlcov/index.htmlをVSCodeで開いた時に下部に

まとめ
コンテナでVSCodeを使ってpytestを実行し、カバレッジを
確認する方法をまとめてみた。
VSCodeを使うと色々手間が省けるので便利だと感じた。
