当サイトは、アフィリエイト広告を利用しています
【Next.js × TypeScript】contentful記事を表示する


【Next.js × TypeScript】でContentfulの型定義ファイルを自動生成して
ContentfulのAPIを使ってデータ取得を行う方法をまとめる。
前提としてContentfulについて知識があるものとして書いていきます。
環境
動作確認環境は下記です
"dependencies": {"@emotion/babel-plugin": "^11.9.5","@emotion/react": "^11.9.3","contentful": "^9.1.33","contentful-management": "^10.10.0","contentful-typescript-codegen": "^3.2.3","dotenv": "^16.0.1","eslint-config-prettier": "^8.5.0","next": "12.2.3","prettier": "^2.7.1","react": "18.2.0","react-dom": "18.2.0"},"devDependencies": {"@types/node": "18.6.2","@types/react": "18.0.15","@types/react-dom": "18.0.6","eslint": "8.20.0","eslint-config-next": "12.2.3","typescript": "4.7.4"}
インストール
contentfulからTypeScritp型定義を自動生成して、データ取得するために
必要なパッケージをインストールする。
yarn add contentful contentful-management contentful-typescript-codegen prettier dotenv
contentful
contentfulとAPI通信をするために必要なパッケージ
contentful-management
contentfulとAPI通信をするために必要なパッケージ
データ取得だけでなく、新規投稿や更新などを行う場合に使うパッケージ
今回はcontentful-typescript-codegenを使用するために必要。
contentful-typescript-codegen
contentfulのContentModelのTypeScript型定義を自動生成するためのパッケージ
下記がないとエラーになる
- contentful-management
- dotenv
- pretteir
dotenv
dotenvを使用すると、カレントディレクトリに置かれた .envファイルを読み込み
そこに記述されたキー&バリューのペアを process.env経由で参照できるようになる。
今回はcontentful-typescript-codegenを使用するために必要。
dotenv モジュールとは
prettier
言わずと知れたコード整形のパッケージ。
環境設定ファイル
Contentと通信するためにAPIキーをContentfulにログインして参照し、
.envファイルを作成して追記する。
CONTENTFUL_SPACE_ID = xxxxxxxxxxxxCONTENTFUL_ENVIRONMENT = xxxxxxCONTENTFUL_MANAGEMENT_API_ACCESS_TOKEN = xxxxxxxxxxxxxxxxxxxxxxxxxxxxxxxxxxxxxxxxxxxxxxxxxCONTENTFUL_DELIVERY_TOKEN = xxxxxxxxxxxxxxxxxxxxxxxxxxxxxxxxxxxxxxxxxxxCONTENTFUL_PREVIEW_TOKEN = xxxxxxxxxxxxxxxxxxxxxxxxxxxxxxxxxxxxxxxxxxx
- ファイル名は「.env」にする※.env.localや.env.developmentではエラーになる
下記に各項目がContentのどこにあるかをメモ。
※サイトが更新されることもあるので2022/08/11時点のものを記載
CONTENTFUL_SPACE_ID
Setting → API keys → Space ID
CONTENTFUL_ENVIRONMENT = master
Setting → API keys → ENVIRONMENT ALIASES
or
Setting → API keys → ENVIRONMENT
CONTENTFUL_MANAGEMENT_API_ACCESS_TOKEN
Setting → API keys → Content management tokens → Generate personal token
※上記で生成されるkeyは生成時しか確認できないため、コピーしておく
CONTENTFUL_DELIVERY_TOKEN
Setting → API keys → Content Delivery API - access token
※コンテンツを取得するためだけに使用するので取得用トークン
CONTENTFUL_PREVIEW_TOKEN
Setting → API keys → Content Preview API - access token
TypeScript型定義生成スクリプトを作成
TypeScript型定義を生成するためのソースをルート直下に作成する。
require('dotenv').config()const contentfulManagement = require("contentful-management")module.exports = function() {const contentfulClient = contentfulManagement.createClient({accessToken: process.env.CONTENTFUL_MANAGEMENT_API_ACCESS_TOKEN,})return contentfulClient.getSpace(process.env.CONTENTFUL_SPACE_ID).then(space => space.getEnvironment(process.env.CONTENTFUL_ENVIRONMENT))}
Scriptsの設定
TypeScript型定義生成スクリプトがターミナルで実行できるように
package.jsonに下記を追記する。
"scripts": {"dev": "next dev","build": "next build","start": "next start","lint": "next lint","contentful-typescript-codegen": "contentful-typescript-codegen --output @types/generated/contentful.d.ts"},
実行する
scriptを実行し、errorがでなければ成功!
$ yarn contentful-typescript-codegenyarn run v1.22.10$ contentful-typescript-codegen --output @types/generated/contentful.d.tsDone in 3.06s.
ルート直下に@Typesフォルダに自動生成されたTypeScript型定義ファイルが格納される
※下記はこのブログの場合のサンプル
// THIS FILE IS AUTOMATICALLY GENERATED. DO NOT MODIFY IT.import { Asset, Entry } from 'contentful'import { Document } from '@contentful/rich-text-types'export interface IBlogPostFields {/** タイトル */title: string/** スラッグ */slug: string/** アイキャッチ */eyeCatch: Asset/** 投稿日 */publishDate: string/** カテゴリ */category: string/** タグ */tags?: ITags[] | undefined/** コンテンツ */body?: string | undefined/** discription */discription?: string | undefined}export interface IBlogPost extends Entry<IBlogPostFields> {sys: {id: stringtype: stringcreatedAt: stringupdatedAt: stringlocale: stringcontentType: {sys: {id: 'blogPost'linkType: 'ContentType'type: 'Link'}}}}export interface ITagsFields {/** タイトル */title: string/** スラッグ */slug: string}export interface ITags extends Entry<ITagsFields> {sys: {id: stringtype: stringcreatedAt: stringupdatedAt: stringlocale: stringcontentType: {sys: {id: 'tags'linkType: 'ContentType'type: 'Link'}}}}export type CONTENT_TYPE = 'blogPost' | 'tags'export type LOCALE_CODE = 'en-US'export type CONTENTFUL_DEFAULT_LOCALE_CODE = 'en-US'
ここまででTypeScript型定義自動生成ができる
Contentfulの記事を取得して一覧表示する
次に自動生成したTypeScript型定義を使って記事を取得して一覧表示してみる。
Contentfulと通信要のutilsを作成する
yarnでインストールしたcontentfulのcreateClientを使って
ContentfulClientApiを取得するutilを作成する。
import { ContentfulClientApi, CreateClientParams, createClient } from 'contentful'const config: CreateClientParams = {space: process.env.CONTENTFUL_SPACE_ID || '',accessToken: process.env.CONTENTFUL_DELIVERY_TOKEN || '',}export const client: ContentfulClientApi = createClient(config)
インストールしたcontentfulで使用できるものは
node_modules > contentful > index.d.tsを見ればわかる
createClient
CreateClientParamsを引数にしてContentfulClientApiを取得する関数
export function createClient(params: CreateClientParams): ContentfulClientApi;
CreateClientParams
createClientの引数のインターフェース
※spaceとaccessTokenは必須
export interface CreateClientParams {space: string;accessToken: string;environment?: string;insecure?: boolean;host?: string;basePath?: string;httpAgent?: any;httpsAgent?: any;proxy?: AxiosProxyConfig;headers?: any;adapter?: any;application?: string;integration?: string;resolveLinks?: boolean;removeUnresolved?: boolean;retryOnError?: boolean;logHandler?: (level: ClientLogLevel, data?: any) => void;timeout?: number;retryLimit?: number;}
ContentfulClientApi
contentfulのapiのインターフェース
色々あるが今回はgetEntriesを使う。
export interface ContentfulClientApi {getAsset(id: string, query?: any): Promise<Asset>;getAssets(query?: any): Promise<AssetCollection>;getContentType(id: string): Promise<ContentType>;getContentTypes(query?: any): Promise<ContentTypeCollection>;getEntries<T>(query?: any): Promise<EntryCollection<T>>;getEntry<T>(id: string, query?: any): Promise<Entry<T>>;getSpace(): Promise<Space>;getLocales(): Promise<LocaleCollection>;getTag(id: string): Promise<Tag>;getTags(query?: any): Promise<TagCollection>;parseEntries<T>(raw: any): Promise<EntryCollection<T>>;sync(query: any): Promise<SyncCollection>;}
また今度、それぞれ動きを調べてみたい。
一覧表示する
上記で作成したcontentfulClient.tsを使ってContetentfulのAPIを取得し
APIで記事一覧を取得して表示する。
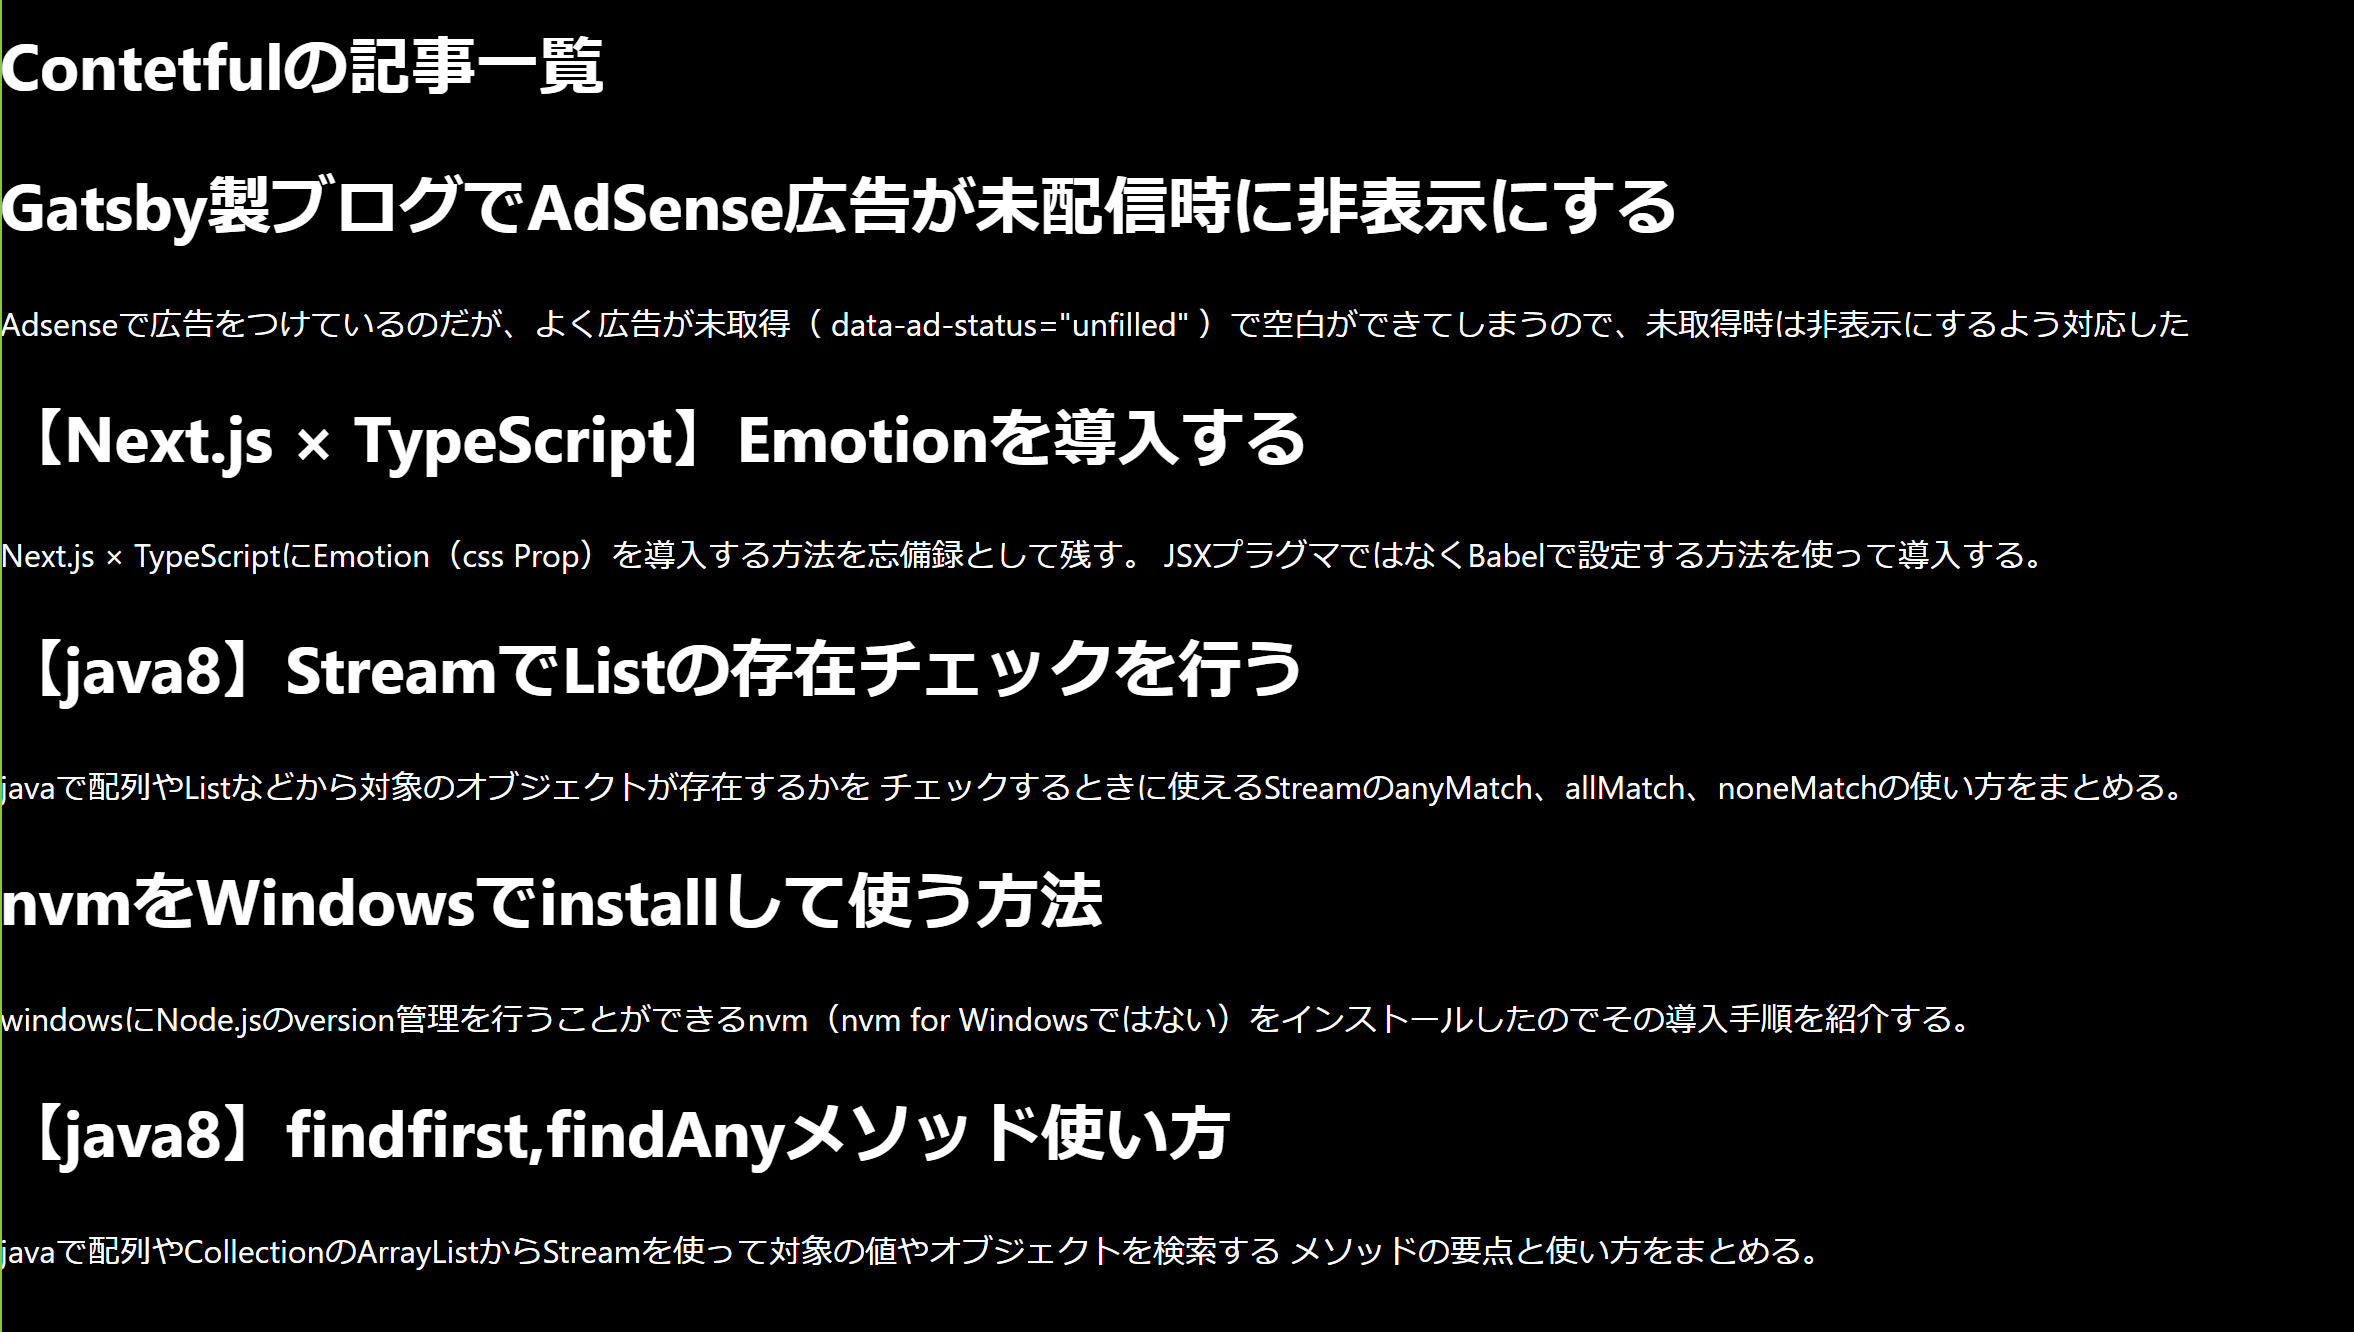
import type { NextPage } from 'next'import { Entry, EntryCollection } from 'contentful'import { IBlogPostFields } from '../../@types/generated/contentful'import { client } from '../utils/contentfulClient'// getStaticPropsの戻り値の型定義interface Props {blogPosts: EntryCollection<IBlogPostFields>}// SSGでcontetnfulの記事一覧を取得export const getStaticProps = async () => {const blogPosts = await client.getEntries<IBlogPostFields>({content_type: 'blogPost',//content modelのblogPostを取得order: '-sys.createdAt',//並び順})return {props: {blogPosts: blogPosts,},revalidate: 1,}}const Home: NextPage<Props> = (props) => {// 分割代入で記事一覧を取得const {blogPosts: { items },} = propsreturn (<><h1>Contetfulの記事一覧</h1>{items.map((item: Entry<IBlogPostFields>) => (<div><h1>{item.fields.title}</h1><p>{item.fields.discription}</p></div>))}</>)}export default Home
- client.getEntriesではクエリーで取得するcontentmodelや並び順を指定できる。
実行結果イメージ
まとめ
contentfulの記事データはAPIを使えば割と簡単に取得できることがわかった。
今回使ってAPI以外については全然調べてないので使うことがあれば、まとめていく。
参考
下記を参考にさせて頂きました


